
As a creator on Twitch, you are likely familiar with the special significance that your broadcasts, VODs, clips, and highlights bring to your viewers. However, the challenge often lies in efficiently overseeing this content across multiple platforms and devices. Whether you're displaying your gaming talents or providing valuable insights, preserving your content is vital for both your advancement as a streamer and your relationship with your community. This guide will walk you through the best practices to capture, download, and archive your Twitch content so you can keep everything in order and ensure your artistic contributions are not lost.
Understanding how to collect Twitch content successfully can be a significant benefit for your stream. With the appropriate techniques and tools, you can effortlessly document Twitch streams, download Twitch VODs, and save Twitch clips to boost your content library. Not only does this allow for simplified access to your most memorable moments, but it also opens up opportunities for editing, sharing, and reusing your creations for multiple platforms. In this write-up, we will discuss various methods for recording and preserving your streams while looking at key factors like quality of audio and video, resolution and frame rate, and even legal aspects to keep in mind when handling your Twitch content.
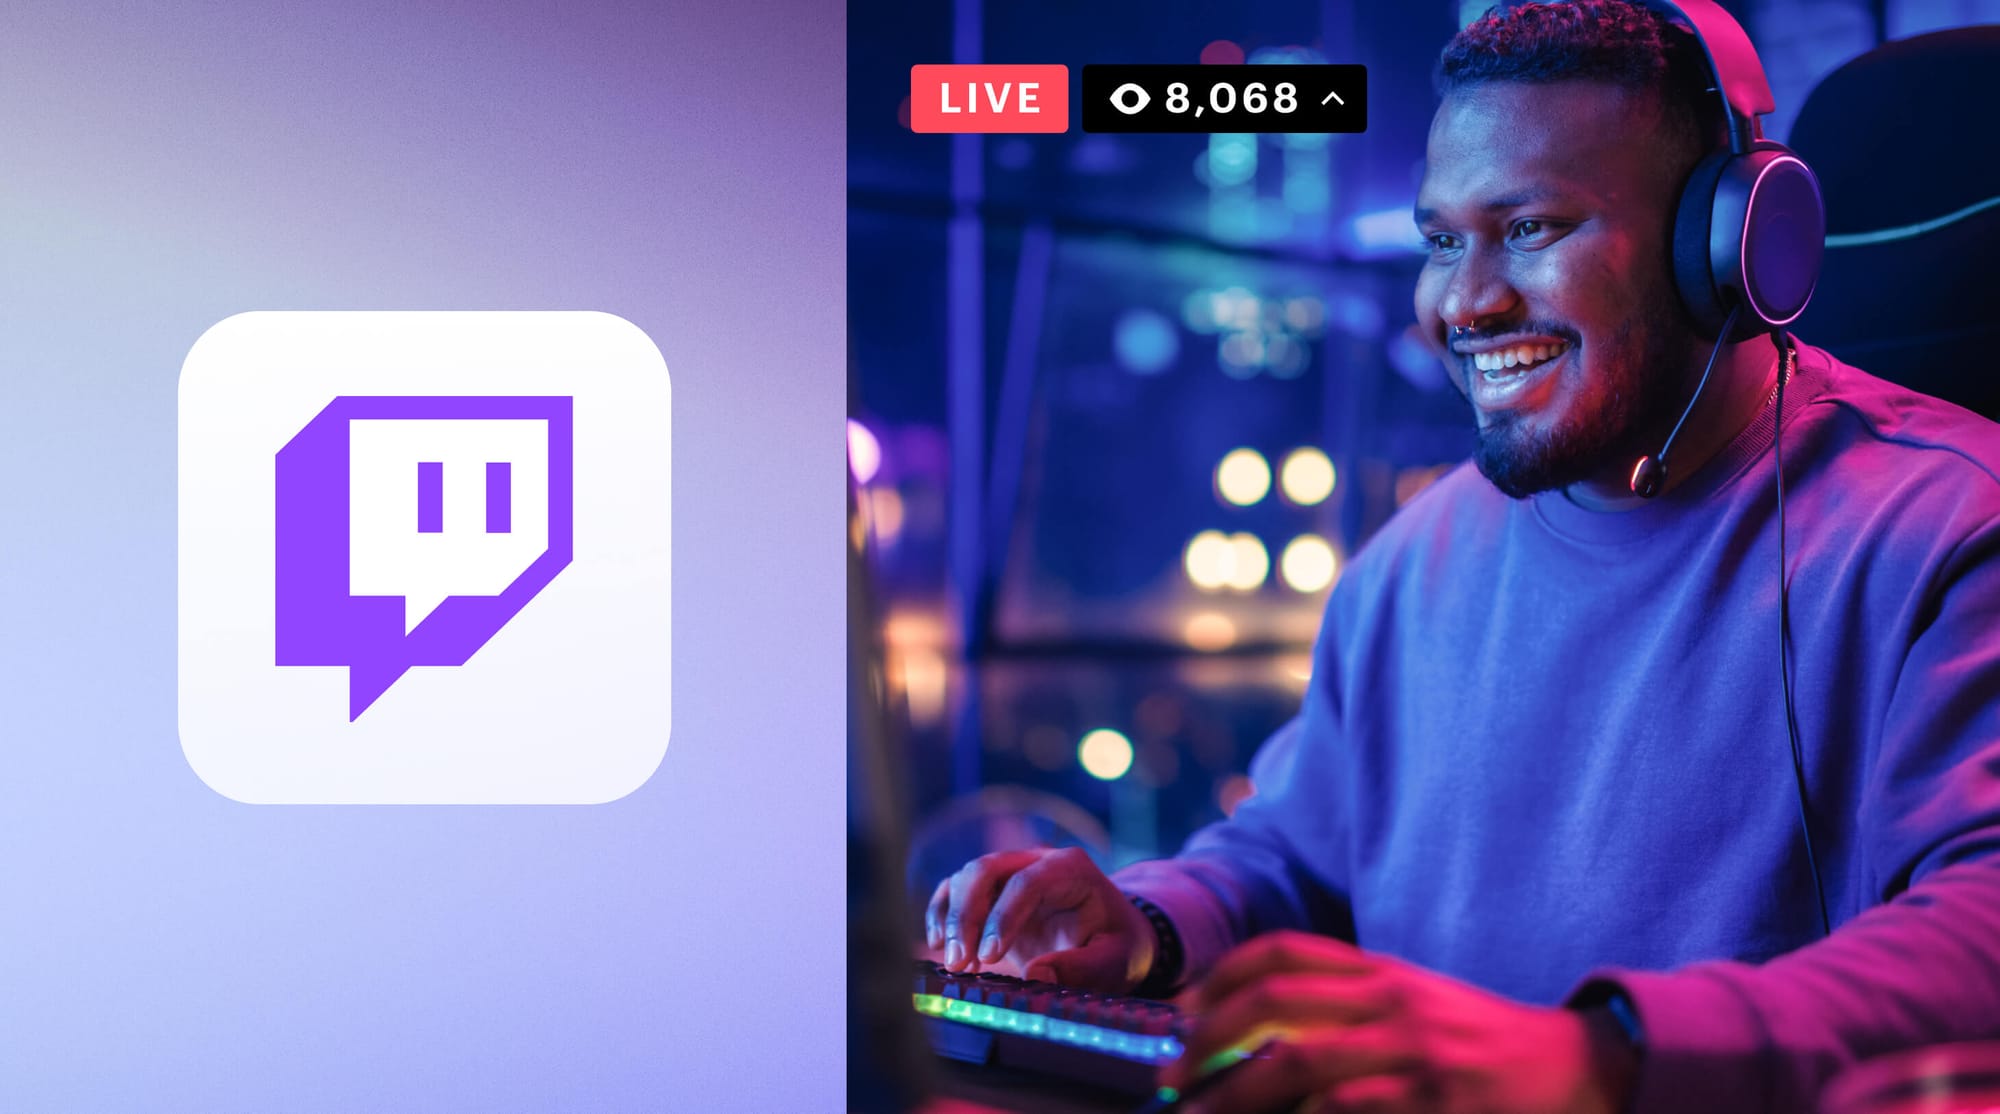
Recording Twitch Broadcasts
To successfully capture Twitch broadcasts, it's crucial to choose the appropriate software that address to your unique requirements. For streamers on Windows, Open Broadcaster Software is a well-liked option due to its versatility and wide range of capabilities. It allows users to set resolutions, encoding rates, and adjust capture settings to ensure the highest possible audio and visual quality. Meanwhile, Apple streamers can also take advantage from similar tools such as ScreenFlow or the built-in QuickTime Player, which simplify the capture process.
When configuring your capture software, consider the video quality and encoding rate settings. Streaming at increased resolutions provides a clearer picture but may require more disk space and processing power. Finding a balance between quality with storage requirements is crucial, especially for long streams. Testing with various settings will help you discover the optimal configuration that works for your streaming style and hardware capabilities, ensuring that your recorded content retains its appeal.
Additionally, don't neglect the significance of audio quality in your captures. Poor sound can turn away viewers, even if the video quality is stellar. Spending in a good mic and utilizing sound filters in your capture software can greatly enhance the listening experience. By focusing on both visual and audio quality, you can create recordings that are not only interesting but also expertly polished, helping to preserve the integrity of your Twitch content for future use.
Storing and Keeping Twitch Content
To effectively store your Twitch streams, it's crucial to make use of the native tools available by the service. Twitch enables streamers to store their broadcasts as VODs (Video on Demand), which can be viewed for a specific period according to your subscription level. For Twitch Affiliate and Partner users, VODs are retained for 60 days, while standard accounts retain them for 2 weeks. To manage your VODs efficiently, you might want to set up a system for evaluating, capturing, and storing your material before it is lost.
In conjunction to Twitch's built-in tools, third-party software can improve the saving procedure. Applications such as OBS Studio and Streamlabs OBS not only allow you to record Twitch broadcasts live but also automate the saving of segments after your stream ends. Configuring your Twitch video capturing software to record streams with high audio and video quality ensures that your captures maintain their standards during the saving process. Don’t forget to adjust the quality and bitrate to your requirements, which can vastly enhance the quality of your archived content.
When it comes to permanent saving, think about utilizing cloud services solutions or external hard drives. Structuring your stored Twitch broadcasts, clips, and highlights into organized directories based on dates, events, or categories can enhance the access process later. It's also wise to stay informed about all legal issues surrounding your recordings, including fair use guidelines, to make sure that you follow copyright laws while maintaining your gaming legacy. Proper handling of your stored content will not only assist in growing your channel but also act as a valuable asset for future editing and revenue generation chances.
Acquiring Highlights and VODs
One of the easiest ways to organize your Twitch content is by getting clips and Video on Demands directly from the platform. Twitch allows creators to keep their past streams as Video on Demand (VOD), which can be retrieved for later use. To acquire your Twitch VODs, navigate to your Creator Dashboard, navigate to the Video Producer section, and you’ll find the feature to download your past broadcasts. This makes sure that you have a version of your broadcasts that you can change, repurpose, or post across your social media.
For highlights, the process is likewise easy. Clips can be made in real-time by audience or streamers during live streams, allowing for quick highlights. These clips are stored for a limited time but can be retrieved easily from the Clips section of your channel. It’s important to consistently check and retrieve your favorite clips, as they encapsulate key moments of your broadcasts and enhance viewer engagement on platforms or different platforms.
If you want a an even automated system, look into using browser extensions or external tools that focus in bulk getting of Twitch content. These tools can help you save multiple VODs or clips at once, conserving you time and energy. Always verify that the tools you use adhere with Twitch’s terms of service to preserve your content and sustain your channel's standing.
Optimal Practices for Quality and Organization
To secure the highest potential quality when recording Twitch streams, it is essential to select the appropriate screen capture software. Look for tools that enable for elevated clarity and bitrate settings to capture all aspect of the stream. Test multiple settings before going live to achieve the ideal balance between video quality and storage space. Additionally, consider using an dedicated microphone to boost sound clarity. Download Twitch highlights online is essential for keeping your listeners, so invest in a quality microphone for professional-sounding recordings.
Once you have finished your live content, the next action is organization. Develop a uniform file naming system for your saved recordings that includes the timestamp, stream title, and relevant keywords. This facilitates it easier to retrieve individual recordings later on. Use directories to sort your material, such as Videos on Demand, short snippets, and best moments, and subdirectories for various titles or events. A methodical approach to file management will help you prevent clutter and facilitate to manage large volumes of recordings over time.
Ultimately, evaluate establishing a durable archive for your saved content to secure its safety. Online storage solutions provide convenience and availability, allowing you to retrieve your files from anywhere. Additionally, frequent data copies are essential to mitigate data loss. Consider systematic backup options to streamline the process, so your material is consistently safe. By implementing these tips, you can maintain top-notch quality and ensure your Twitch content is structured and readily accessible.
Legal Aspects and Revenue Generation
When it comes to handling your Twitch content, comprehending the legal landscape is crucial. Twitch streams, VODs, clips, and highlights often showcase copyrighted materials, including music, visuals, and gameplay. As a creator, it is essential to familiarize yourself with fair use guidelines and Twitch's terms of service to avoid potential copyright infringements. Neglecting these legal considerations can lead to content takedowns, suspensions, or even legal action from copyright holders. Always verify that any third-party content incorporated into your streams is either unique, permitted, or falls within fair use parameters.
Additionally, capitalizing on your recorded Twitch content requires careful navigation of legal limits. If you aim to use your streams for profit, for example through advertising or paid access, it's crucial to have the rights to all visual and audio elements included in your recordings. Some creators choose copyright-free music and stock footage to avoid copyright issues while enhancing their content's appeal. Actively managing rights management can help safeguard your monetization efforts and preserve your relationship with your audience and partners.
Ongoing storage and management of your Twitch recordings also play a significant part in monetization strategies. By saving highlights and favorite moments, you create a collection of content that can be recycled for promotional materials or put together into engaging videos for channels such as YouTube. This cross-platform approach not only enhances your channel growth but also optimizes the opportunity for revenue streams, resulting in greater overall success as a streamer.